Sometimes you have to learn the hard way.
Before I continue describing my manifold rain barrel system, I want to address a couple problems I encountered during our first rain storm. First, 2.5" of rain filled the ENTIRE SYSTEM. That's 220 gallons of water, folks. Granted, we have quite a bit of roof surface, but I did not expect all the barrels to be full. So why is that a problem? Well, in essence it's not. But it caused a few issues that I'm still trying to address.
When the rain woke me up at 4 a.m. last week, I went outside to find that not only was the receptor barrel overflowing, it had also tipped back against the house! Byron and I were able to tip it back into position, but we had to shim it with some wood scraps to keep it upright. So note to self: do not wait to install overflow pipe, which should be the same size as the intake. In other words, if you're feeding your system with a 3x4 downspout, your overflow pipe should be about 12 square inches, too. I bought a 4" round PVC pipe for this purpose.
Another problem I'm encountering are slow leaks in the bottoms of three of the barrels, which I attribute to the barrel design and the placement of the PVC drain at the bottom of the barrel.
Click here to see my previous post. See how I put the drain right along that seam? BAD IDEA. I'm not a structural engineer, but I was an architect and I should have known better. I'm still kicking myself for that, especially since I've tried to fix the problem with both RTV and plumber's putty, and have failed with both. I'm going to browse the hardware store today and call my dad to see if there's anything else out there that can help, but I'm probably going to have to drain the system, plug the hole, and re-install the drain along the higher rim of the bottom of the barrel. Like I said, sometimes I learn the hard way.
Anyway, for what it's worth, here's the rest of my design (again, you might want to look at
this post first):
![]() |
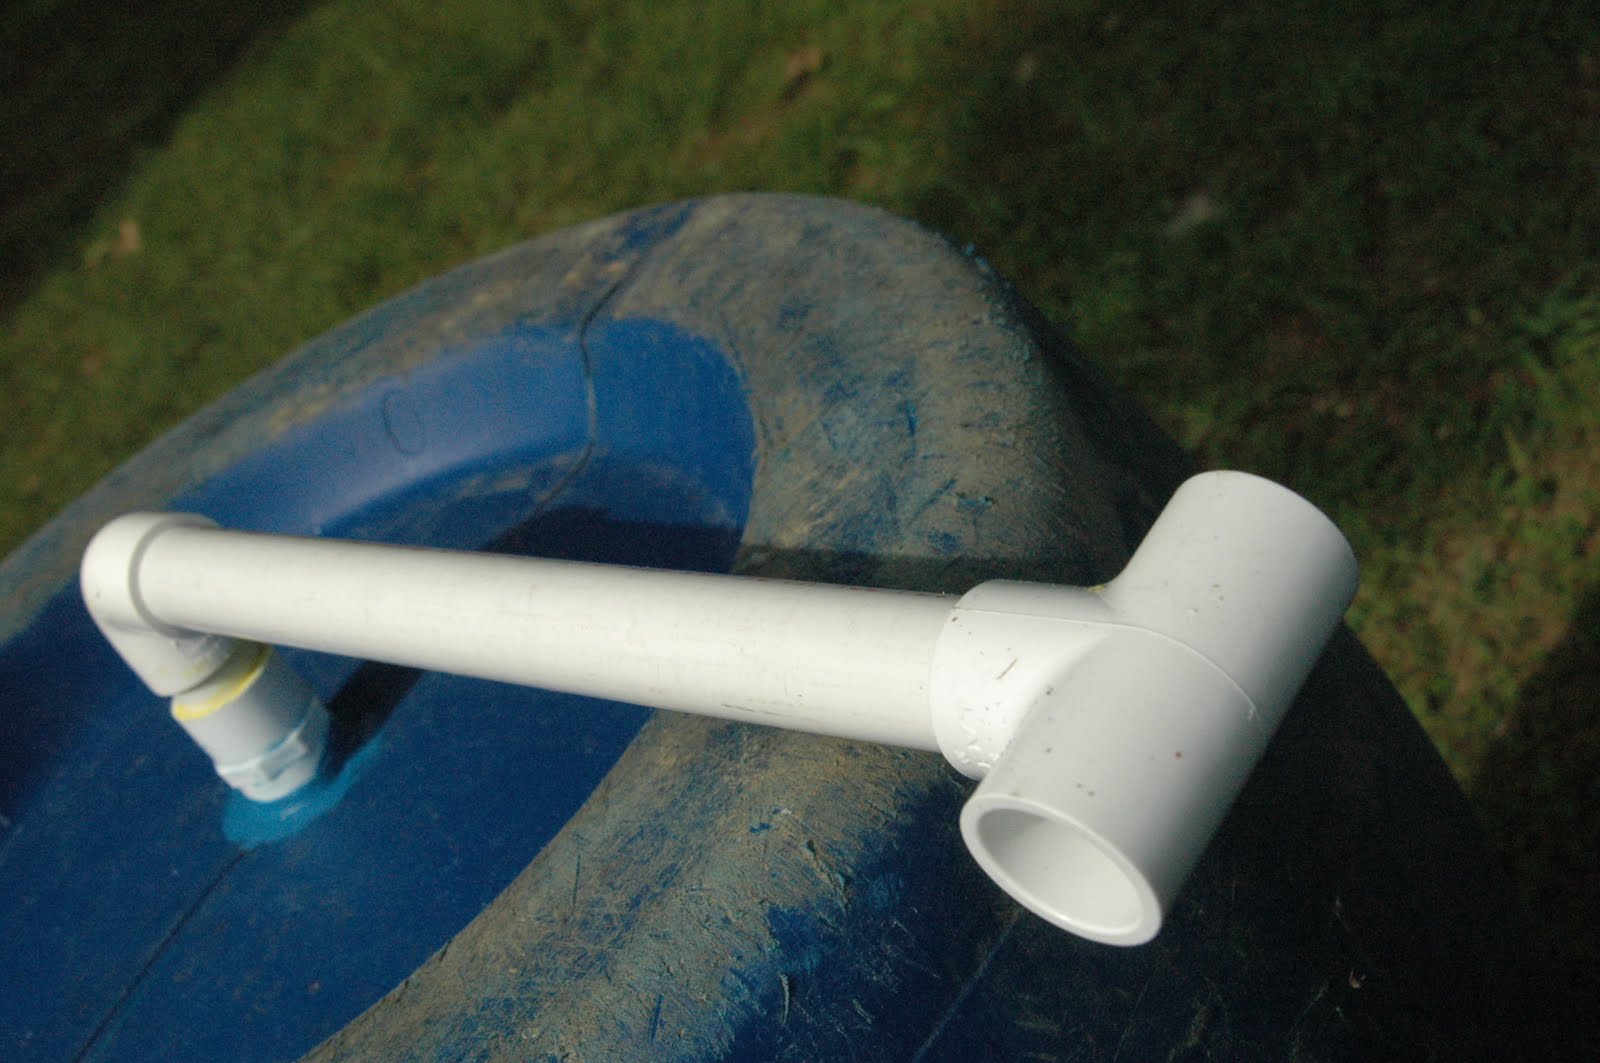
| The rim height on the bottoms of the barrels varied slightly, so I measured each before cutting the piping section that would attach the elbow to ensure that everything would be level. |
![]() |
| Once the elbows were installed, I placed a barrel on the concrete blocks and measured how far I would need to cut the sections of PVC to extend out. This is, in essence, a cantilever and it sags a bit...something that can be remedied either by supports or moving the drain to the outer rim of the barrel. |
![]() |
| The four "extender" sections need to be the same length. |
![]() |
| Here the extender is installed, along with the elbow for the last barrel (make sure it points the correct way)! |
![]() |
| The other three barrels looked like this. |
![]() |
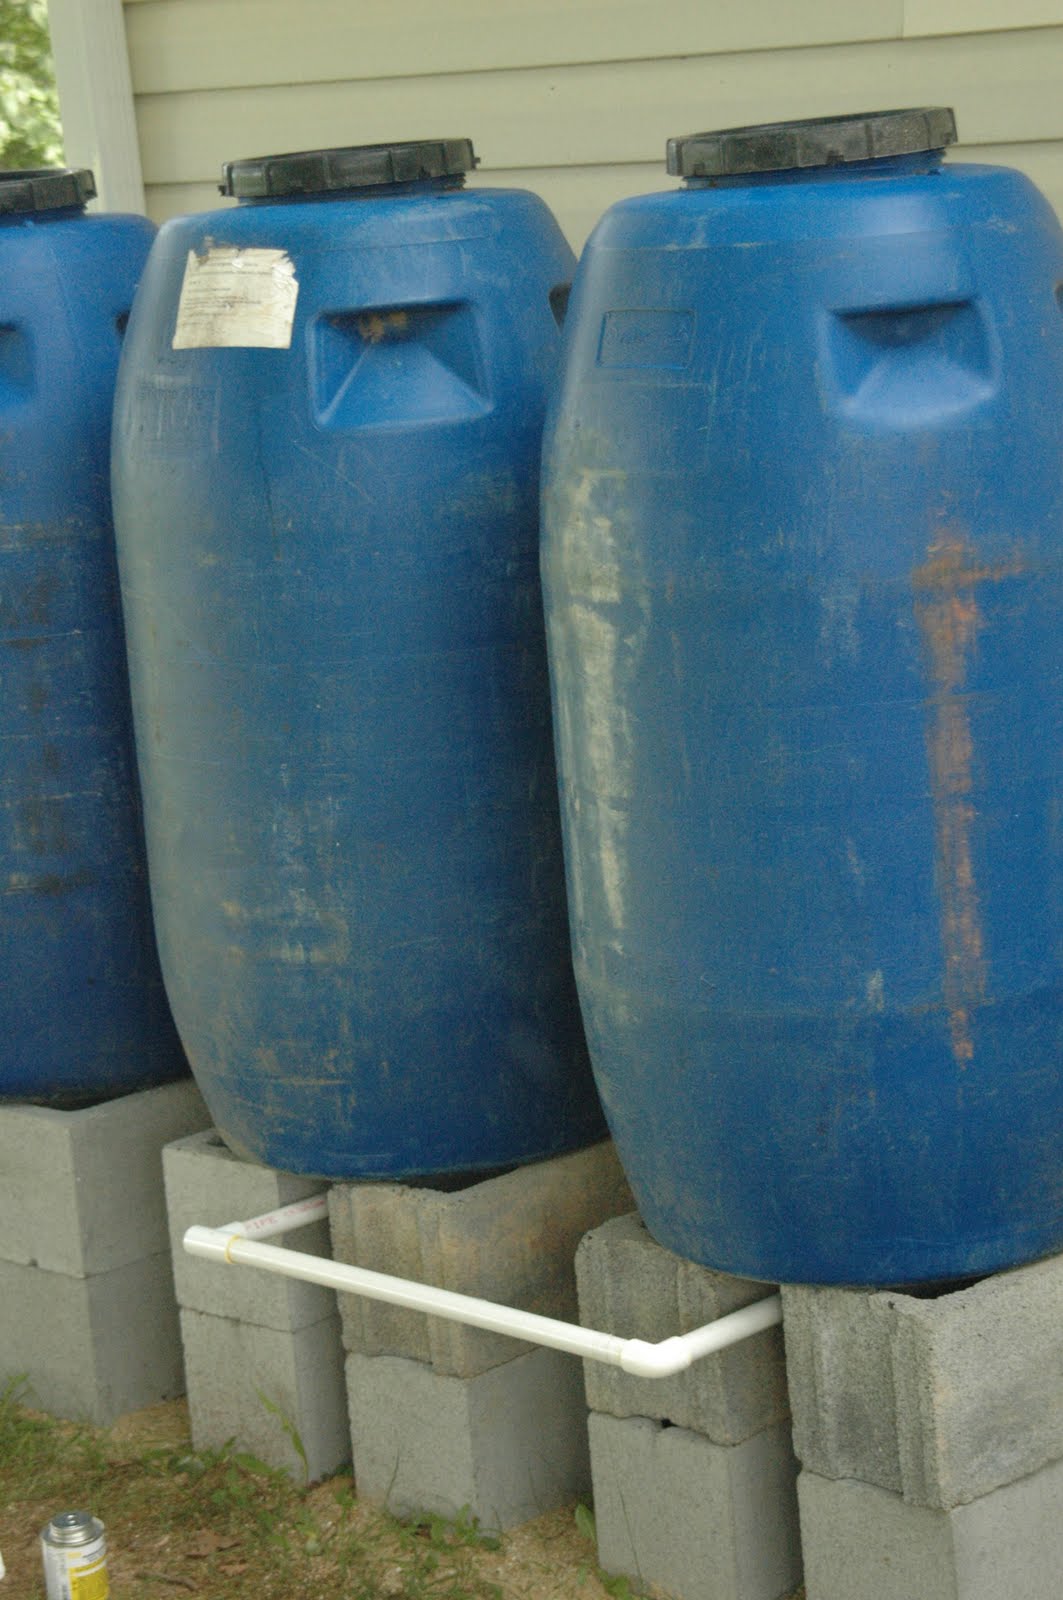
| And here they are, set up. |
![]() |
| Before cutting more sections of PVC, I checked to see how level everything was...and it looked good! See? I did something right! |
![]() |
| After measuring each section (don't assume they are all the same), I installed each. |
![]() |
| Hint: it's easier to install the downspout to the connector piece before installing it onto the system. That way, you can ensure that the downspout will be pointing down. |
![]() |
| Almost done...and a five gallon bucket almost fits under the spout. From the videos, I thought two cement blocks would do the trick, but when I repair the system I'm going to prop the barrels up a bit more. PVC is flexible, but if you finagle it too much it might snap. |
Another note...I used RTV on all the threaded joints, and PVC cement on the non-threaded joints.
And again, to be continued...


No comments:
Post a Comment