Here's the final post on the basics of baking whole wheat bread. There are lots of pictures, and I'm sure more posts will be generated from this one. Ask me questions, if you have them. Maybe, just maybe, I'll have an answer! Anyway... (I know, I say that a lot. I need a writing teacher here to rapp my knuckles with a ruler). Anyway (ouch!), here goes:
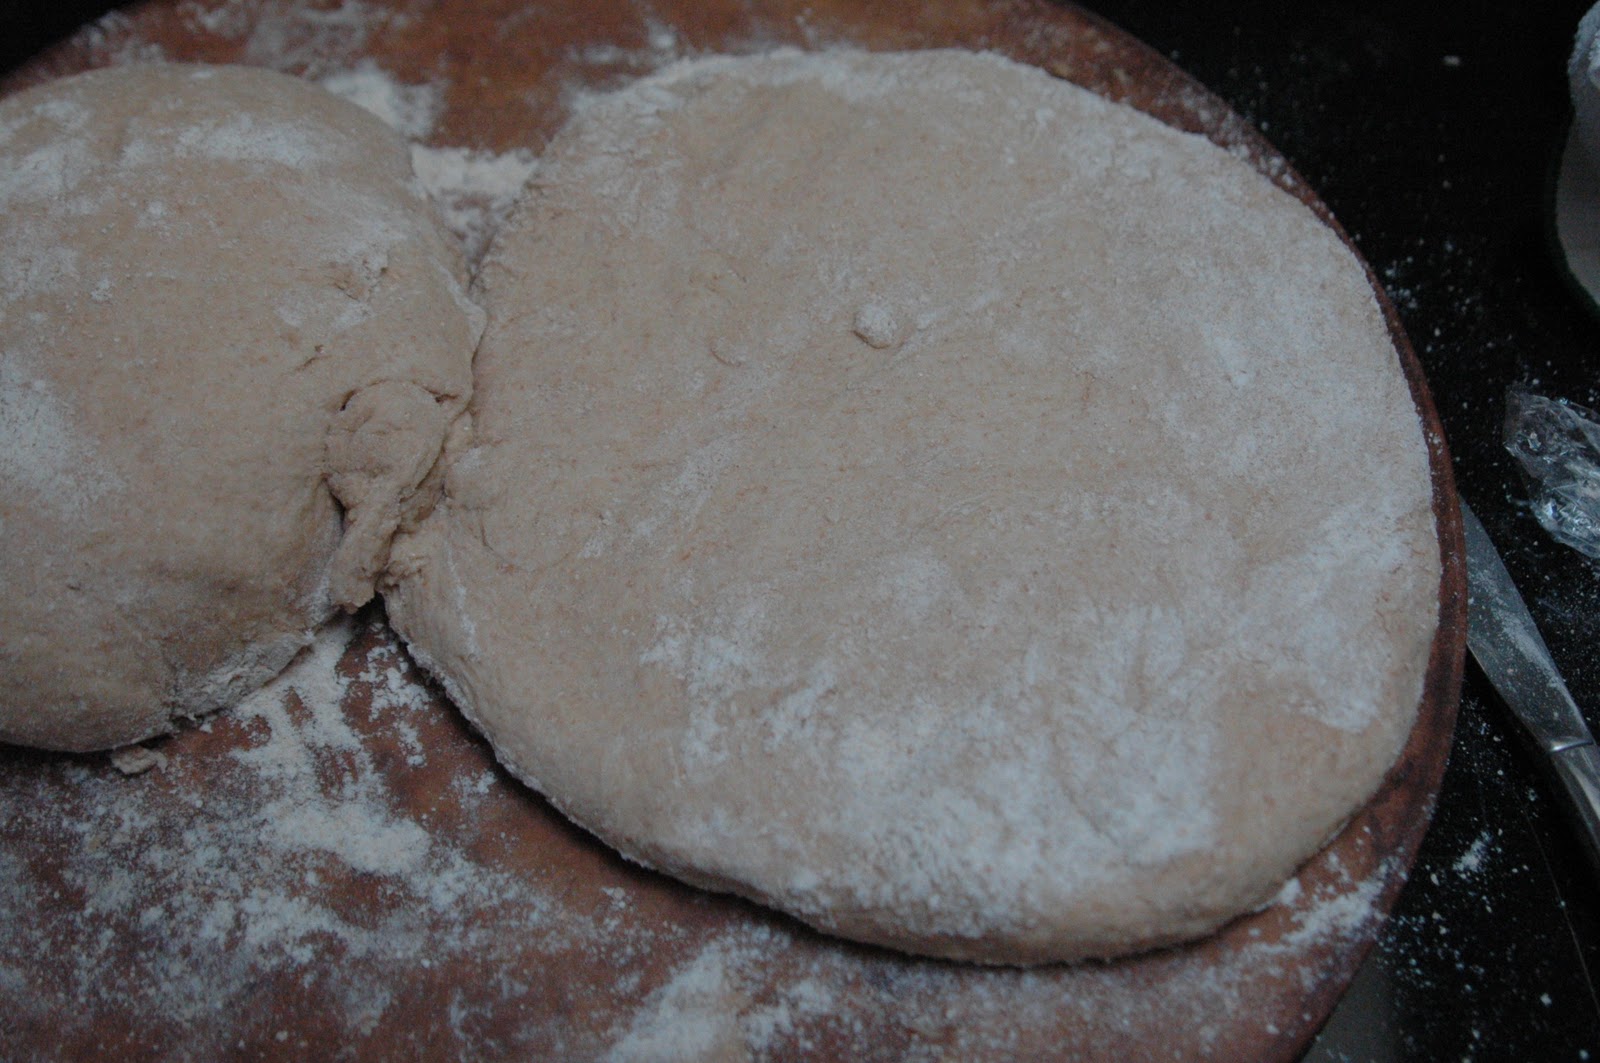
1. You've let your bread rise twice. After that second rising, punch it down again and then turn it out onto a floured surface. Flatten it to expel all the air, and divide it in half with a knife (we're assuming a two-loaf recipe here). Then, shape each half into a round, cover, and let the dough rest for ten minutes. This will make the dough easier to work with. Kind of like when your kids take a nap (I remember those days).
 |
| Flattened and ready to be divided. It's just dough...not medieval torture. |
 |
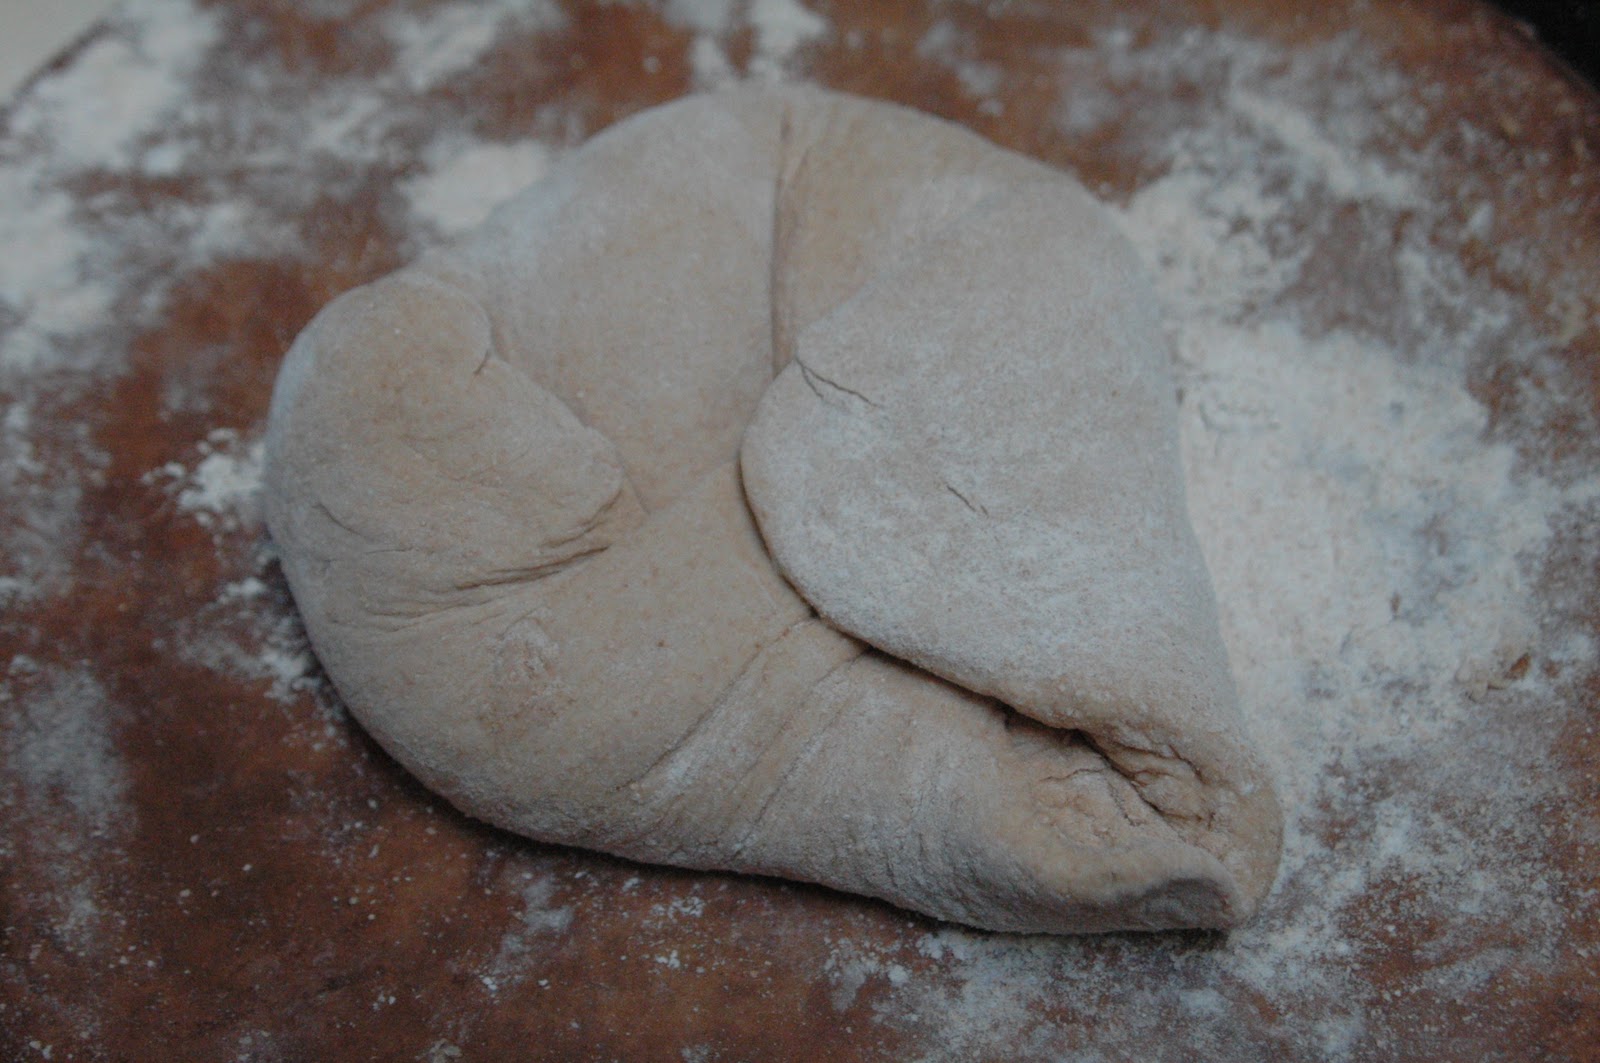
| You can re-shape the halves into circles, if that helps. Fold over the top toward the center. |
 |
| Fold the left corner in toward the center. |
 |
| Fold the left side in toward the center. |
 |
| You guessed it...fold the bottom in toward the center. |
 |
| Fold that little leftover corner on the right in toward the center. |
 |
| Flip the round over and shape it a bit with your hands. |
 |
| Place back on a floured surface and cover. Let rest for ten minutes. |
2. When your dough is done resting, it's time to shape it into loaves! I usually grease my bread pans with a bit of butter during those ten minutes. By the way, you should use 8x4 bread pans when baking traditional, sandwich-style loaves with whole wheat flour. The typical 9x5 pans will give you a squatty loaf; remember, whole wheat flour doesn't have all those additives to make it puff up like a mushroom after a rainstorm. You can buy 8x4 loaf pans at your local big box store.
Of course there are many, many ways to shape loaves, but let's start with the basics. You can shape your loaf into a hearth-style round using the method I showed you above. Or for a traditional loaf, try this:
 |
| When your dough is done resting, flatten your round to expel the air again. Do this if you're making a hearth-style loaf as well. |
 |
| Fold the top edge toward you, almost in half. Press down. |
 |
| Fold the left and right edges in toward the center, pressing down. |
 |
| Roll the dough tightly toward you. |
 |
| Pinch the seam together. |
 |
| Place dough, seam side down, into a greased loaf pan. |
3. Now your loaves are ready to proof, which is a fancy way of saying final rise. Cover them with plastic and a towel and put them back in the oven with the light on. Or, if you have a slightly warmer location, place them there. Ideally, the final proof should be done at a slightly warmer temperature than the other two rises. Also, the proof takes about as much time as the second rise. So if your second rise took 40 minutes, your proof should take 40 minutes. Keep this in mind when preheating the oven. My oven takes about six minutes to heat up, so when I have about six minutes of proof time left, I take the loaves out, cover them with another towel (you don't want them to catch a draft now - they could fall during baking), shut the light off in the oven, and preheat to the temperature specified in the recipe. You can tell when it's done proofing by moistening your finger and pressing gently into the loaf. It's ready when it feels spongy and the indentation fills slowly. If the indentation remains, it's proofed for too long and may not rise as well during baking. Bake it anyway, but keep in mind that it's better to bake a loaf that's proofed slightly under than over.
4. I don't always do this, but you can decorate your loaf with sesame seeds, poppy seeds, or flax meal (my favorite). Even if you skip this step, you can make an incision in the loafs before popping them into the oven to give them a little flair and a little help rising during baking.
 |
| I grind flax meal in my old coffee grinder. |
 |
| Brush the loaf with room-temperature milk. |
 |
| Sprinkle with flax meal. |
 |
| Slice a bit into the tops of the loaves with a sharp knife. Hearth-style loaves (left) can have three parallel-ish incisions, as shown, or a cross. Traditional loaves (right) can have one long incision or three diagonal. The choice is yours. |
5. Bake! After removing the loaves from the oven, wait ten minutes or so before gently sliding a knife along the edges of the traditional loaf, or a spatula under the hearth-style loaf. Carefully tip the pan(s) over or remove the hearth loaf from the sheet. If you can wait half an hour or so to cut, you have more willpower than I...and not such a squishy loaf. Lather with your favorite spread and enjoy. There's nothing better than freshly baked bread!
 |
| Traditional loaf. |
 |
| Hearth-style loaf. |
For Part I,
click here.
For Part II,
click here.


No comments:
Post a Comment